
In this guide
Low-voltage decisions are cheap while the walls are open and expensive afterwards. This is one checklist for the whole project rather than a separate list per system, because they compete for the same walls and the same moments.
Why this is one list and not seven
Each system has its own planning guide, and they all assume they are the only thing happening. In reality they share pathways, share the rack and share the few weeks when the walls are open. Planning them together avoids the situation where the audio cable goes in and the camera cable needs the same route a month later.
They share the same walls and the same few weeks. Plan them together.
Before framing
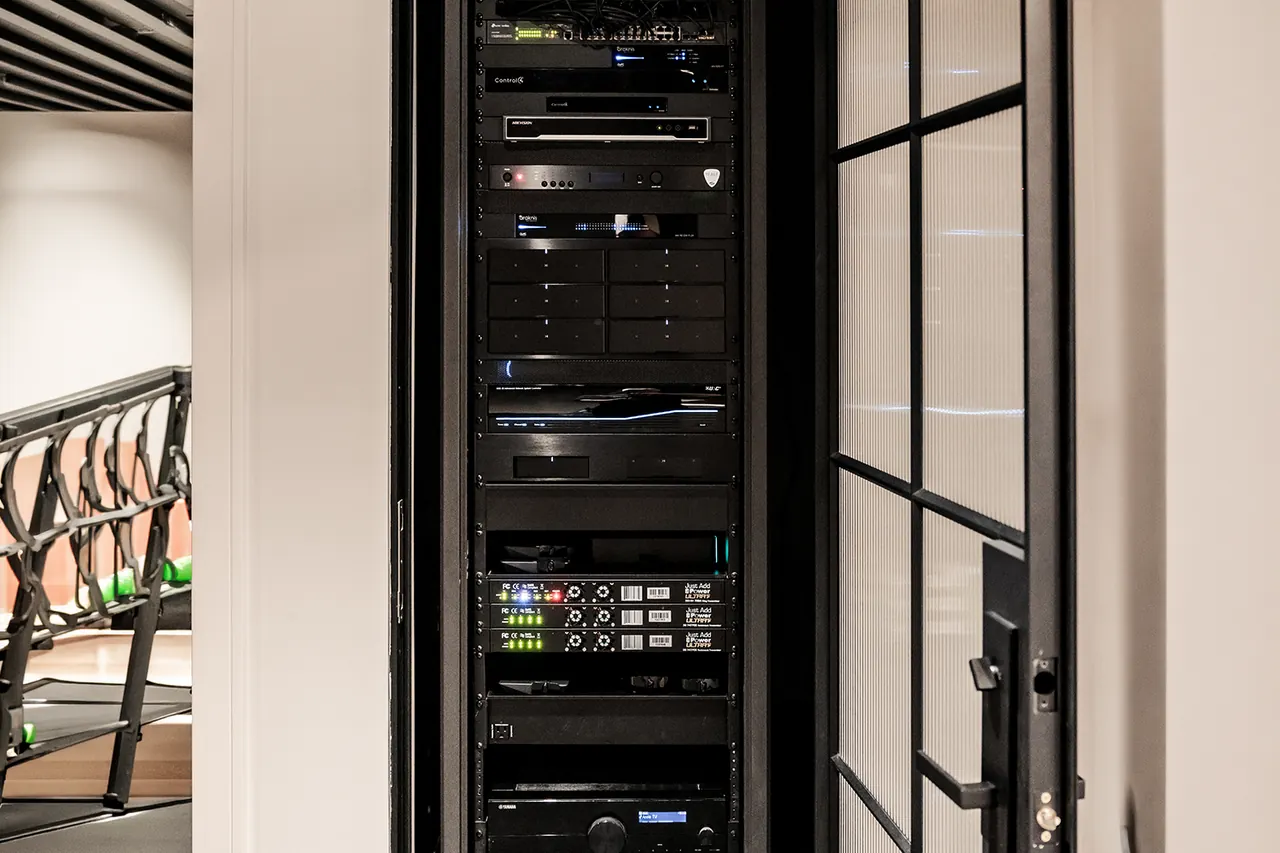
- Where the rack lives: central, ventilated, powered, accessible, not in a bedroom wall
- Whether any room needs acoustic isolation, which is a framing decision
- Whether shades are hardwired, which puts power at the window head
- Whether any ceiling needs a decoupled detail
- Where exterior runs leave the building, so they are not an afterthought
During framing, before insulation
- Network drops to every desk, display, access point, camera and door position
- Speaker cable to every speaker location, home run to the rack
- Signal and power to any projector position
- Power at window heads for hardwired shades
- Keypad locations, with a neutral conductor at each
- Conduit from rack to each major destination, left empty, for whatever comes next
- Cable to the front door for a video doorbell or intercom
Empty conduit. It is the cheapest item on this list and the only one that makes every future change simple. Run it from the rack to the media wall, to the attic and to the exterior.
Pathways to agree with the builder
Vertical route
A chase or stacked closets connecting every floor to the rack, sized for more than today's cable.
Rack location
Ventilated, powered, serviceable. Not a sealed cupboard, and not somewhere noise matters.
Attic and crawl access
Determines how much future work needs walls opened.
Exterior penetrations
Agreed and sealed properly, which matters for both weather and for the envelope.
How to label it
Cable that is not labelled at both ends during rough-in will be traced by hand later, and that cost arrives every time anything changes. Labelling takes minutes while the walls are open.
- Every cable labelled at the outlet and at the rack
- Photographs of every wall before drywall, with a reference for which wall
- A plan marking each drop location
- Spare conduit routes recorded on the same plan
The photographs are the single most useful item on that list. A photograph of an open wall tells any future trade exactly what is behind the drywall and where.
Walk the plans with us
Send drawings before framing and we will mark every decision that has to be made while the walls are open.
Book a planning consultation